
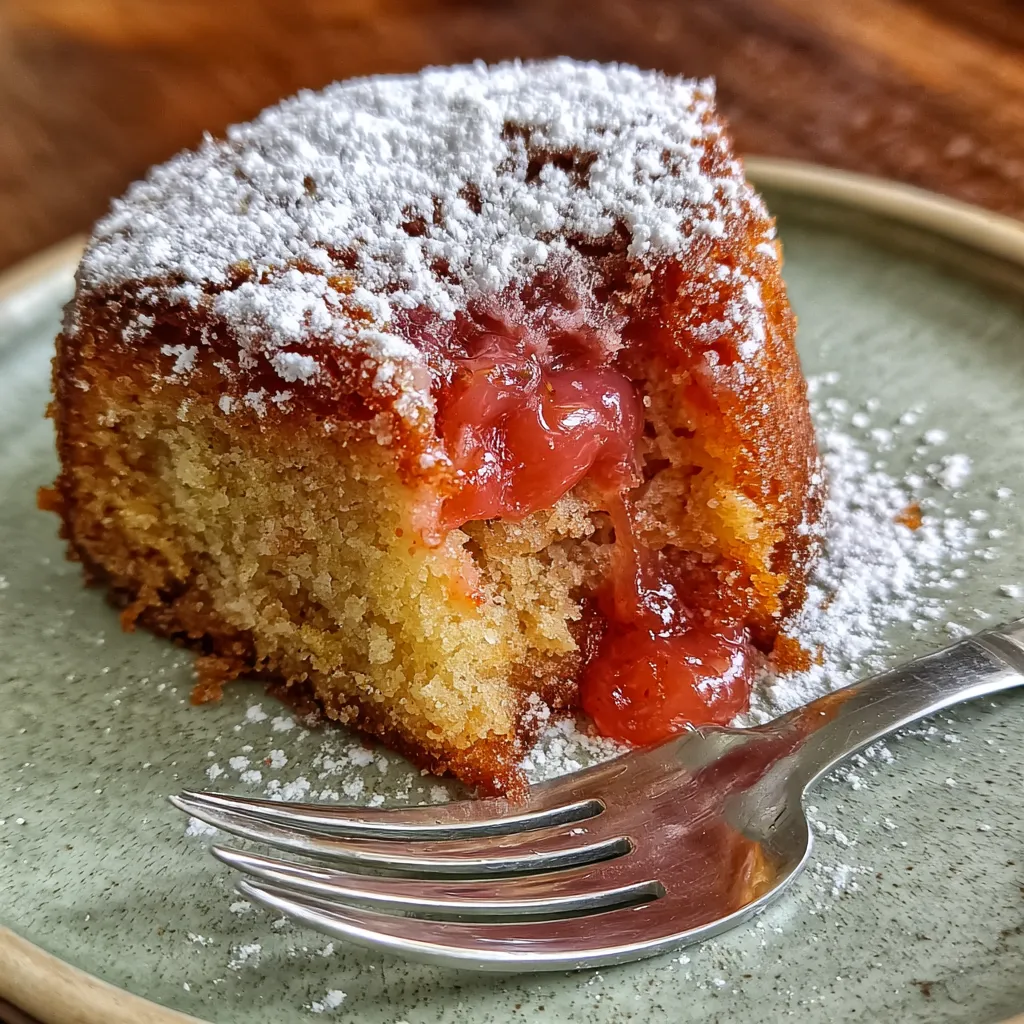
This Hawaiian Guava Cake is a fluffy creation kissed by sweet guava and tropical sunshine, draped in a tangy glaze that brightens every bite. This soft, golden sponge bursts with the lush aroma of guava, its sweet-tart puree woven into tender crumbs. Whether you’re craving a fruity twist on a classic cake or chasing a bit of island magic on your dessert plate, this recipe will transport you straight to sun-drenched beaches. Ready to bake your way to paradise? Let’s dive in!
Before you start, make sure you have these simple yet essential components on hand. Each one plays a special role in bringing out that tropical charm.
Baking this Hawaiian Guava Cake is straightforward, even for beginners. You’ll whisk dry and wet ingredients separately, combine them carefully to avoid overmixing, then bake to golden perfection. Finally, whip up a quick pink glaze that drapes the cake in glossy sweetness. Follow these steps closely and you’ll end up with a tender, fragrant dessert that tastes like a mini vacation.
1. Preheat the oven to 350°F and grease a 9-inch round cake pan with butter or nonstick spray, then lightly dust with flour to prevent sticking.
2. In a medium bowl, whisk together the flour, sugar, baking powder, and salt until evenly distributed and lump-free.
3. In a separate large bowl, combine the melted butter, eggs, milk, guava puree, and vanilla extract. Whisk until you have a smooth, homogenous batter.
4. Pour the wet mixture into the dry ingredients and stir gently with a spatula until just combined—avoid overmixing to keep the cake tender.
5. Transfer the batter to the prepared pan and smooth the top. Bake for 30 to 35 minutes, or until a toothpick inserted in the center comes out clean or with a few moist crumbs.
6. Let the cake rest in the pan for 10 minutes, then carefully invert onto a wire rack to cool completely before glazing.
7. Meanwhile, in a small bowl, whisk together the powdered sugar, guava puree, and milk until you achieve a silky, pourable glaze.
8. Drizzle the glaze over the cooled cake, letting it drip down the sides. Allow it to set for a few minutes before slicing and serving.
Bringing a slice of this cake to the table is like sharing a little tropical escape. Whether it’s a family gathering or a simple treat for yourself, these ideas will make it even more memorable.
A few insider pointers will help you turn out a flawless tropical cake every time. From handling the batter to nailing the glaze, these notes keep your bake on track and bursting with flavor.
Proper storage ensures your Hawaiian Guava Cake stays moist and flavorful, whether you’re enjoying it the next day or planning ahead for a special occasion. Follow these methods to keep every slice as delicious as the first.
Here are some quick answers to common queries about this guava-infused delight.
Yes. To use fresh guavas, peel and core about 3–4 ripe guavas, blend until smooth, then strain through a fine-mesh sieve to remove seeds. Measure out 1 cup of the strained puree to match the recipe’s requirement. Fresh puree may be slightly thinner, so reduce the milk by 1–2 tablespoons if the batter seems too loose.
Once you combine the wet and dry ingredients, stir only until you no longer see streaks of flour. Overmixing develops gluten in the flour, which can make the crumb tough. Use a silicone spatula to fold gently, scraping the sides and bottom of the bowl, and stop as soon as the batter is uniform.
Preheat the oven fully to 350°F and place the pan on the center rack. Avoid opening the oven door for the first 25 minutes to prevent temperature fluctuations. Test doneness by inserting a toothpick into the center—if it comes out with just a few moist crumbs, the cake is done. Let it cool in the pan for exactly 10 minutes before removing to finish cooling.
For a thicker glaze, add more powdered sugar—up to 1/4 cup extra—while keeping the liquid constant, then whisk until smooth. For a thinner glaze, add milk 1 teaspoon at a time until you reach the desired drizzling consistency. Work quickly, as powdered sugar can thicken the glaze as it sits.
Store the cake at room temperature in an airtight container for up to 3 days. To freeze, wrap individual slices or the whole cooled cake tightly in plastic wrap and then in aluminum foil. Freeze for up to 2 months. Thaw overnight in the refrigerator before glazing or serving.
For a gluten-free version, substitute a 1:1 gluten-free flour blend that contains xanthan gum and follow the recipe as written. For dairy-free, use a plant-based milk (almond, soy, or oat) and a vegan butter alternative melted in place of the unsalted butter. The texture will remain moist and flavorful.
After glazing, sprinkle toasted shredded coconut over the top for added crunch. Freshly sliced guava, pineapple chunks, or a handful of berries make colorful, refreshing toppings. A dollop of whipped cream or a scoop of vanilla ice cream on the side complements the cake’s sweet, tangy notes.
This Hawaiian Guava Cake shines because it marries a classic sponge with a bright, tropical twist—every slice is a little getaway. The guava puree doubles down on flavor in both the cake and glaze, while simple ingredients keep it approachable for all skill levels. It’s fun, fruity, and foolproof, making it a standout dessert whether you’re mastering your first bake or adding to your recipe collection. Feel free to print or save this recipe, then come back and let me know how it brightened your day!
This soft, golden sponge bursts with the lush aroma of guava, its sweet-tart puree woven into tender crumbs. A glossy pink glaze drapes the top, adding a bright, fruity zing that transports you straight to the tropics.

¡Hola, cocineros! I'm Alba Morales, and welcome to my kitchen where Spanish traditions meet California innovation, and every recipe is a love letter to the flavors that have shaped my culinary journey.