
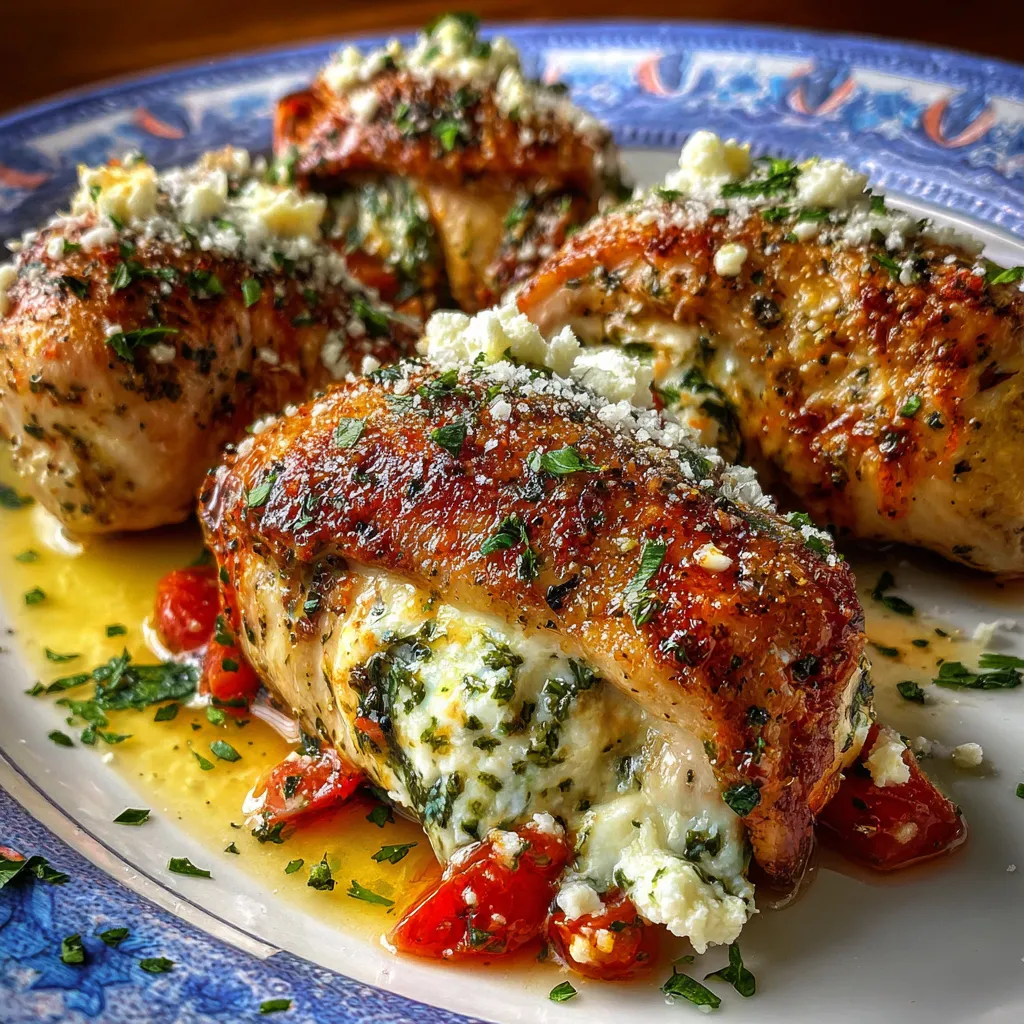
Sink your teeth into these herbed ricotta stuffed chicken rolls and prepare for a flavor-packed twist on classic chicken dinner. Tender chicken breasts cradle a creamy ricotta filling studded with fresh basil, parsley, and Parmesan, all sealed in a golden, crispy breadcrumb coating. Whether you’re cooking for weeknight family dinners or hosting friends, these rolls bring an impressive flair without the fuss. Ready to roll up some cheesy goodness and wow everyone at the table?
To make these chicken rolls shine, gather vibrant herbs, creamy cheeses, and pantry staples. Each ingredient plays a key role in building layers of flavor and texture.
Ready to transform simple ingredients into a showstopping dinner? From pounding the chicken and mixing a herby ricotta filling to rolling, dredging, searing, and baking, each step is designed to deliver juicy, well-seasoned rolls with a crisp breadcrumb exterior. Follow the detailed steps below to ensure everything comes together perfectly, so you can slice into neat spirals revealing gooey ricotta and bright green herbs.
1. Preheat your oven to 375°F (190°C) to ensure consistent baking temperature for juicy, tender chicken.
2. Place the chicken breasts between two sheets of plastic wrap. Using a meat mallet, gently pound each breast to an even thickness of about 1/2 inch for uniform cooking.
3. In a mixing bowl, combine the ricotta cheese, grated Parmesan, chopped basil, chopped parsley, garlic powder, salt, and black pepper. Stir until the mixture is smooth and well distributed.
4. Spread a generous layer of the ricotta mixture over each chicken breast, leaving a 1/2-inch border around the edges to prevent filling from oozing out.
5. Starting from one narrow end, carefully roll each chicken breast to encase the filling, securing with toothpicks or kitchen twine if needed.
6. Set up a dredging station: in one shallow dish, place the flour; in a second dish, pour in the beaten eggs; and in a third, add the breadcrumbs.
7. Dredge each roll first in flour, shaking off excess, then dip in beaten eggs, and finally coat evenly with breadcrumbs to create a crisp, golden outer layer.
8. In a large oven-safe skillet, heat the olive oil over medium-high heat. Once shimmering, sear the chicken rolls on all sides until golden brown, about 3–4 minutes per side.
9. Remove the skillet from heat and transfer directly to the preheated oven. Bake for 20–25 minutes, or until the chicken is cooked through and an instant-read thermometer reads 165°F (74°C).
10. Once cooked, let the rolls rest for a few minutes, then slice into medallions and serve with warm marinara sauce on the side.
These herbed ricotta stuffed chicken rolls are versatile and pair beautifully with a variety of sides. Whether you’re aiming for a cozy weeknight supper or a festive dinner, the right accompaniments can elevate both taste and presentation.
Nailing this recipe is all about preparation and little flavor-boosting tweaks. From herb swaps to prep-ahead hacks, these pointers will take your chicken rolls from great to unforgettable. Keep your filling well-seasoned, your rolls tightly secured, and don’t be afraid to personalize the herbs to match your taste.
Leftover stuffed chicken rolls can be just as delicious the next day if stored properly. Follow these storage methods to maintain both freshness and flavor, so you can enjoy a quick, tasty meal without compromising quality.
Here are quick answers to common questions about making and serving these chicken rolls.
You need about 20 minutes for prep—pounding the chicken, mixing the filling, rolling, and dredging—around 12 minutes to sear on all sides, and 20–25 minutes to bake, for a total of roughly 55–60 minutes from start to finish.
Leave a ½-inch border of chicken around the filling, roll the breast tightly, secure with toothpicks or kitchen twine, and dredge evenly in flour, egg, and breadcrumbs to seal the edges before searing and baking.
Yes. Store the mixed ricotta, Parmesan, herbs, and seasoning in an airtight container in the refrigerator for up to 2 days. Bring it to room temperature for about 10 minutes before assembling the rolls for easier spreading.
Serve with the warm marinara included in the recipe, steamed or roasted vegetables, garlic bread, a fresh green salad, or a simple pasta tossed in olive oil and herbs for a complete meal.
Use an instant-read thermometer inserted into the center of a roll—it should read 165°F (74°C). The juices should run clear, the breadcrumbs golden brown, and the meat should feel firm but not dry.
Absolutely. Swap all-purpose flour for gluten-free flour, use panko or crushed gluten-free crackers instead of standard breadcrumbs, and replace eggs with a flax-egg or buttermilk wash for a different coating texture.
Add chopped spinach or sun-dried tomatoes to the ricotta filling, swap basil and parsley for thyme or oregano, stir in lemon zest for brightness, or wrap each roll in prosciutto before dredging for a savory twist.
This recipe works because it balances creamy ricotta, fresh herbs, and a crunchy breadcrumb exterior in each golden roll. It’s a fun twist on classic chicken breasts that feels fancy but is totally achievable at home. Feel free to print and save this article for cozy weeknights or special dinners—you’ll be the star of your own kitchen. If you try these rolls or have any questions (or puns) to share, drop a comment below and let’s chat!
Warm chicken rolls seared to golden crisp surround a creamy ricotta filling dotted with basil and parsley. Each tender slice offers a burst of herbs, Parmesan, and garlic, perfect with a side of marinara sauce.

¡Hola, cocineros! I'm Alba Morales, and welcome to my kitchen where Spanish traditions meet California innovation, and every recipe is a love letter to the flavors that have shaped my culinary journey.