
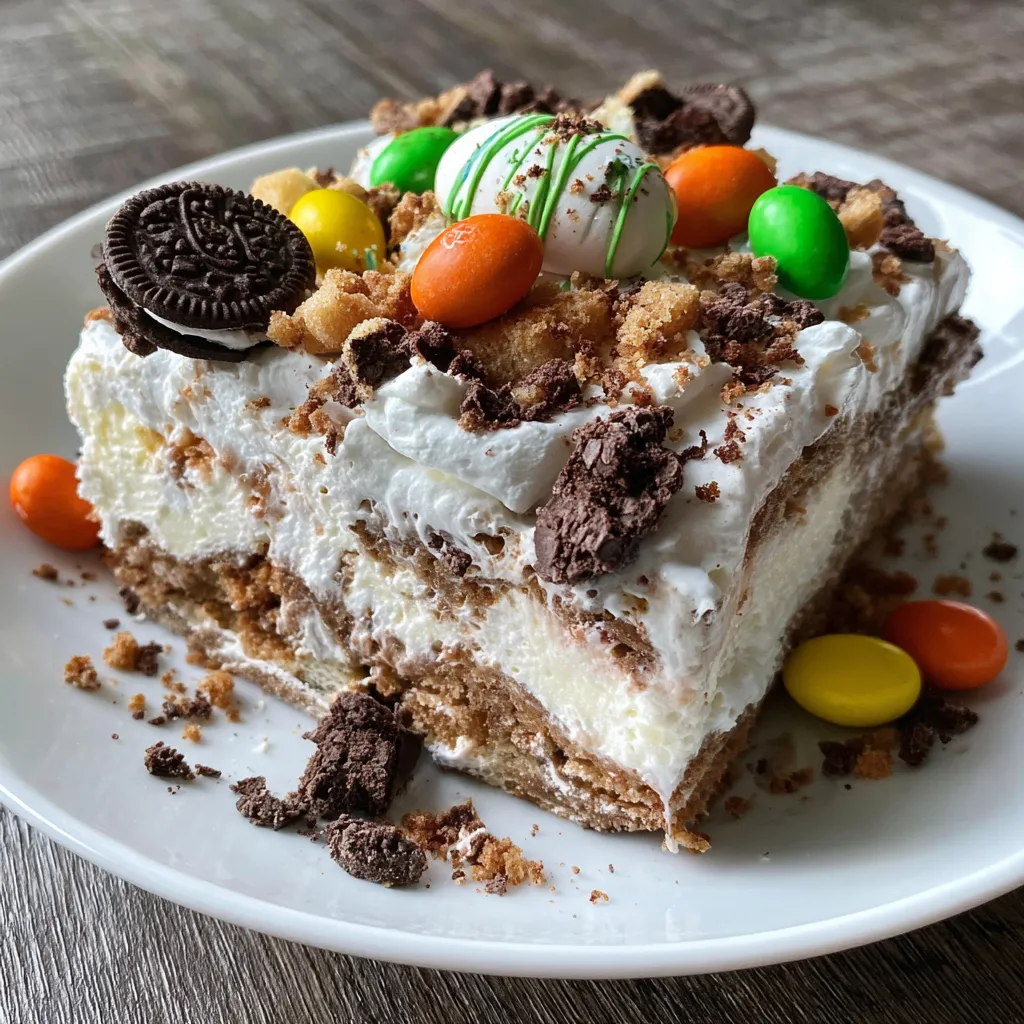
Easter is full of delightful surprises, and this No Bake Easter Dirt Cake Casserole is one of the sweetest! This playful no-bake casserole layers creamy vanilla pudding with rich cream cheese and fluffy whipped topping, nestled between crunchy Oreo crumbs and topped with candy critters like gummy worms and chocolate eggs. Perfect for spring gatherings, it’s easy enough for beginners and guaranteed to be the talk of your dessert table—let’s dig into how to whip up this fun treat!
Before we get started, let’s round up the simple ingredients that make this dirt cake shine:
Bringing together this No Bake Easter Dirt Cake Casserole is a breeze—even if you’re new to dessert-making. We’ll whip up a smooth cream cheese mixture, blend in thickened vanilla pudding, then fold in fluffy whipped topping for cloud-like perfection. Layering these creamy elements with crunchy Oreo “dirt” gives each slice incredible texture, and the candy critters on top add a playful spring vibe. Follow these steps to assemble and chill your casserole so it’s ready for an Easter feast!
1. In a large bowl, use an electric mixer to beat the softened cream cheese and butter on medium speed until the mixture is smooth and creamy, about 2 minutes.
2. Gradually add the powdered sugar and continue mixing on low speed until fully incorporated and silky, scraping down the sides as needed.
3. In a separate bowl, whisk together the instant vanilla pudding mix and cold milk vigorously for about 2 minutes, until the mixture thickens and holds soft peaks.
4. Gently fold the whipped pudding mixture into the cream cheese blend using a rubber spatula, stirring until there are no streaks of pudding left.
5. Add the thawed whipped topping and fold it in carefully until the entire filling is light, airy, and evenly combined.
6. Evenly spread half of the crushed Oreo cookies across the bottom of a 9×13-inch casserole dish to form the first “dirt” layer.
7. Spread the creamy filling over the Oreo base, using an offset spatula to smooth the top into an even layer.
8. Sprinkle the remaining crushed Oreo cookies over the filling, creating a second “dirt” layer for added texture.
9. Arrange the gummy worms and chocolate candy eggs decoratively on top, pushing them slightly into the surface so they stay in place.
10. Cover the dish and refrigerate for at least 4 hours (or overnight) until the layers are fully set before slicing and serving.
This No Bake Easter Dirt Cake Casserole shines when served right, adding a whimsical touch to your dessert table. It’s perfectly chilled and ready for scooping, making parties and family gatherings a breeze. With contrasting textures and pops of color, each serving feels like a mini Easter egg hunt on a plate. Here are a few fun ways to present your slices so they look as festive as they taste:
Mastering this No Bake Easter Dirt Cake Casserole is all about attention to detail and a dash of creativity. Ensuring your base is smooth and your layers set properly will lead to those picture-perfect slices we all love. Don’t stress if it seems too simple—the magic is in the chilling and layering process, which transforms basic pantry staples into a crowd-pleasing centerpiece. Ready to take your dirt cake game up a notch? These quick tips will help you nail the texture, color, and presentation every time.
Proper storage is key to keeping your No Bake Easter Dirt Cake Casserole tasting its best. Since it relies on dairy and creamy layers, you’ll want to keep it chilled to preserve texture and flavor. Whether you’re prepping in advance for a big gathering or stashing away leftovers, these storage methods will ensure every spoonful remains as delightful as the day you made it.
Got questions about this Easter treat? You’re not alone—here are answers to some of the most common queries to help you become a dirt cake pro!
A: It takes about 20 minutes to prepare the layers, including beating the cream cheese and butter until creamy, whisking the pudding mix with milk, and folding in the whipped topping. You’ll also need a few minutes to crush the Oreo cookies and arrange the layers. After assembling, the casserole requires at least 4 hours of refrigeration to set properly.
A: Yes. You can swap the full-fat cream cheese and butter for low-fat versions but the texture may be slightly less rich. For dairy-free, use vegan cream cheese and a plant-based margarine or butter substitute. Choose a dairy-free whipped topping and a non-dairy vanilla pudding mix to keep the flavor and consistency similar.
A: Place the whole cookies in a sealable plastic bag and gently roll over them with a rolling pin until you have coarse crumbs. Avoid pulverizing them into a fine powder, as the larger pieces create the “dirt” texture. You can also pulse them in a food processor for a few quick bursts, checking frequently to prevent over-processing.
A: Whisk the instant pudding mix vigorously with the cold milk until you see the mixture thicken, usually around two minutes. Folding the pudding into the cream cheese mixture while it’s still cold helps it set evenly. Once assembled, chilling for at least 4 hours lets the gelatin in the pudding stabilize the layers for clean slices.
A: Absolutely. You can assemble the casserole up to a day before serving. Once decorated and chilled, cover the dish tightly with plastic wrap or an airtight lid. Store it in the refrigerator for up to three days. If using gummy worms or delicate candies, add them just before serving to maintain their shape and texture.
A: You can. Mixing in pastel mini chocolate eggs or swapping gummy worms for colorful jelly beans gives more visual appeal. You might fold in a handful of rainbow sprinkles into the whipped topping layer for a surprise burst of color, but add them sparingly to avoid softening.
A: Make sure both the cream cheese and butter have reached room temperature before starting. If lumps persist, gently microwave the mixture for 5 to 10 seconds and stir again. Using a hand mixer at medium speed helps break down any remaining clumps and ensures a silky-smooth filling.
There’s something delightfully cheeky about serving dessert that looks like dirt but tastes like a candy-filled dream. The blend of creamy vanilla layers, crunchy Oreo “soil,” and the surprise of gummy worms and chocolate eggs makes this casserole a hit at any spring gathering. It works so well because the textures play off each other—light whipped topping meets tangy cream cheese and sweet pudding, all grounded by crisp cookie crumbs. Feel free to print and save this recipe for future Easter fun, and don’t hesitate to drop a comment or question below if you try it out or need a hand!
Creamy layers of sweet vanilla pudding blend with rich cream cheese and fluffy whipped topping, nestled between crunchy Oreo crumbs and topped with playful gummy worms and chocolate eggs. Chill before serving.

¡Hola, cocineros! I'm Alba Morales, and welcome to my kitchen where Spanish traditions meet California innovation, and every recipe is a love letter to the flavors that have shaped my culinary journey.