
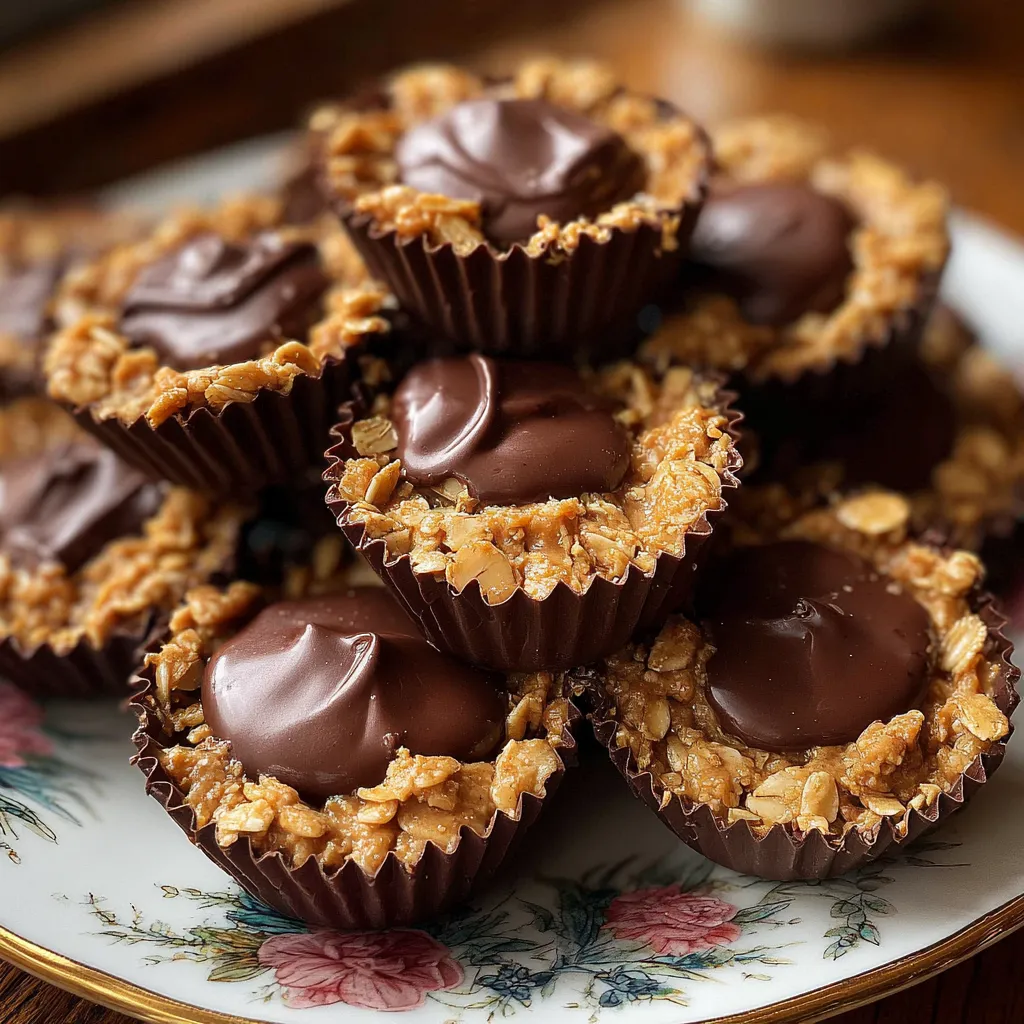
Peanut Butter Oat Cups are the ultimate no-bake snack that comes together in minutes yet feels like an indulgent treat. Creamy peanut butter and golden honey blend with hearty oats, then get pressed into perfect rounds and topped with melty chocolate chips for that satisfying bite. Whether you need a quick dessert, an afternoon pick-me-up, or a protein-packed snack, these cups are beginner-friendly and impossible not to love. Give them a whirl—you’ll wonder how you ever lived without these chewy, chocolatey bites!
Before we dive into the recipe, let’s take a look at the handful of pantry staples that make these Peanut Butter Oat Cups so irresistible:
These Peanut Butter Oat Cups are as easy as it gets—no oven required! You’ll simply mix, press, and chill. Each step ensures the right texture and flavor, from warming the peanut butter mixture to evenly distributing oats and chocolate chips. Ready to get started? Here’s how it all comes together:
1. Line a 12-cup muffin tin with paper liners to ensure easy removal and a neat presentation.
2. In a medium microwave-safe bowl, combine peanut butter and honey and heat for 20–30 seconds until the mixture is smooth and pourable, stirring halfway to avoid hot spots.
3. Stir in vanilla extract and salt until the flavors are evenly distributed, making sure every bite has that sweet, aromatic note.
4. Fold in rolled oats until each oat is thoroughly coated in the warm peanut butter–honey mixture, guaranteeing a chewy texture.
5. Divide the mixture evenly among the muffin cups—use a spoon or cookie scoop—and gently press down with the back of the spoon to eliminate air pockets and compact the cups.
6. Sprinkle chocolate chips on top of each cup and refrigerate for at least 2 hours or until the cups are completely firm and set.
Once your Peanut Butter Oat Cups are set, the fun really begins! These versatile bites adapt to any occasion, whether you’re serving guests or treating yourself:
Nailing these oat cups every time is a breeze with a few insider tricks. From storage hacks to texture tweaks, these tips will elevate your snack game without any extra fuss:
Proper storage ensures your Peanut Butter Oat Cups stay fresh, chewy, and ready for grab-and-go munching. Follow these methods to maintain their flavor and texture:
Here are answers to some common questions about these Peanut Butter Oat Cups:
Preparation takes about 10 minutes, including measuring ingredients, heating the peanut butter–honey mixture, and mixing in oats. After pressing the mixture into the muffin cups and topping with chocolate chips, you’ll need to refrigerate for at least 2 hours to allow the cups to firm up. Plan for a total time of approximately 2 hours and 10 minutes.
Yes, you can substitute crunchy peanut butter for a more textured bite. The oats will still absorb the nut butter mixture, but you’ll notice small peanut pieces throughout the cups, adding extra crunch. If you prefer a smoother texture, stick with creamy peanut butter.
You can prepare the oat cups up to one week in advance. After they’ve firmed up in the refrigerator, transfer them to an airtight container and keep them chilled. This helps maintain their shape and prevents the chocolate chips from melting. If you need longer storage, you can freeze the cups for up to one month; thaw in the refrigerator before serving.
You can replace honey with maple syrup for a slightly different flavor and a vegan-friendly option. The maple syrup will blend similarly with the peanut butter, though the sweetness may be milder, so you can adjust by adding an extra tablespoon if desired. The setting time and texture remain virtually unchanged.
For a nut-free version, substitute almond butter with sunflower seed butter or soy nut butter and replace honey with an equal amount of maple syrup to keep the mixture smooth. Ensure your chocolate chips are also free of cross-contamination. The process and consistency will be similar, though the flavor profile shifts to accommodate the seed butter.
Firmly pressing the oat mixture into the liners removes air pockets and compacts the ingredients, ensuring the cups hold together once chilled. If the mixture is loosely packed, the cups may crumble when you remove them from the liners or bite into them. A solid, even press results in neat, sturdy cups.
You can fold in up to 1/4 cup of dried fruit (such as raisins or cranberries) or chopped nuts (like pecans or almonds) along with the oats. Reduce the rolled oats by the same amount to maintain the overall volume and binding ratio. Mix thoroughly so that each cup stays together and still sets firmly in the refrigerator.
These Peanut Butter Oat Cups hit all the right notes: they’re no-bake, loaded with flavor, and perfect for any skill level—truly a beginner-friendly dessert that doesn’t skimp on taste. The blend of creamy peanut butter, golden honey, and wholesome oats creates a chewy base, while those melty chocolate chips on top bring pure joy. Don’t forget to print this recipe and save it for later, then let me know how it turns out! Feel free to leave comments, ask questions, or share your tweaks if you give these cups a try. Enjoy!
These no-bake oat cups combine creamy peanut butter, sweet honey, and vanilla, pressed into perfect rounds and chilled until firm. Each bite offers chewy oats with gooey chocolate chips melting on top.

¡Hola, cocineros! I'm Alba Morales, and welcome to my kitchen where Spanish traditions meet California innovation, and every recipe is a love letter to the flavors that have shaped my culinary journey.