
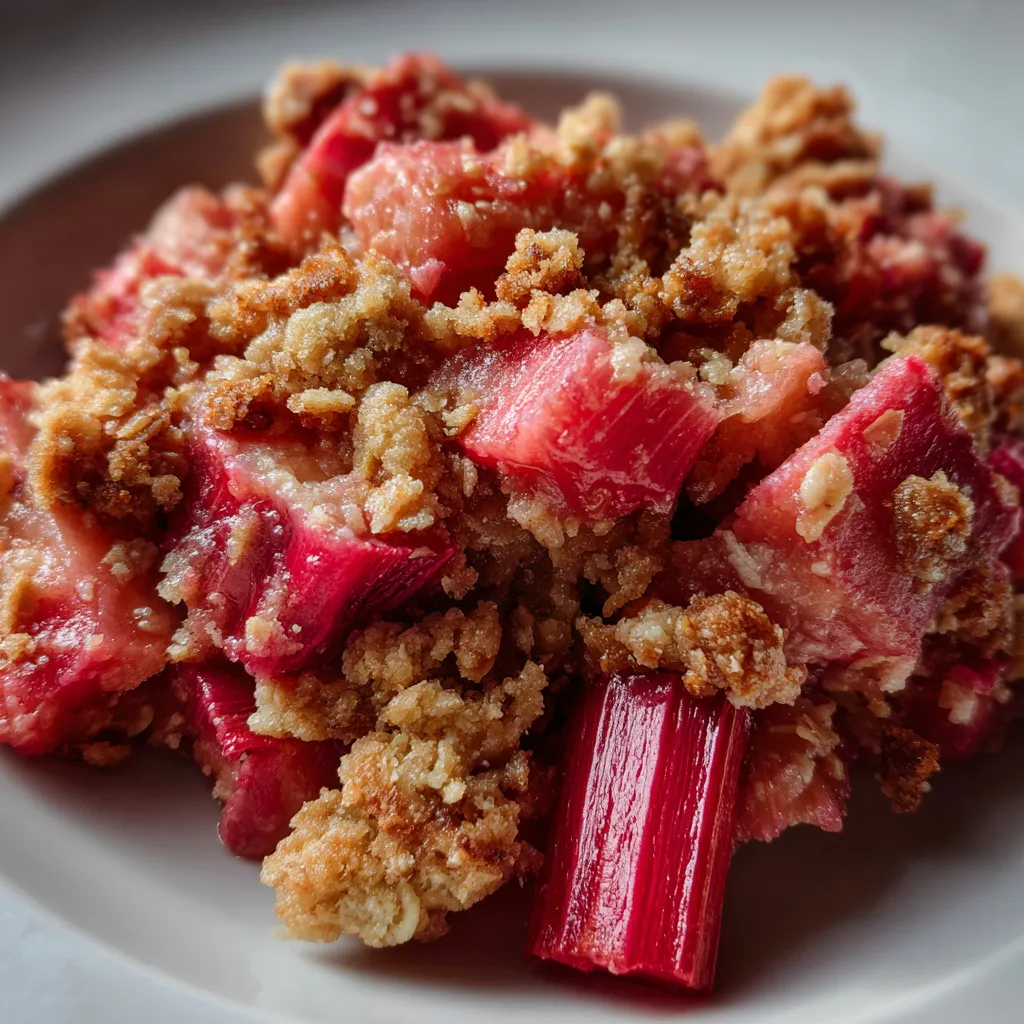
Sweet and Tangy Baked Rhubarb Crumble dazzles with bright pink rhubarb parcels bathed in a sweet lemon glaze, topped with a golden, buttery oat crumble. This dessert brings together tangy fruit and cozy cinnamon-scented oats for a delightful contrast in every spoonful. It’s beginner-friendly and perfect for a summer gathering or a comforting weeknight treat. Dive in to discover how simple ingredients transform into a bubbling, crunchy masterpiece you’ll want to make again and again!
Before you get started, let’s take a quick look at the stars of this recipe and what each one brings to the party.
Ready to dive in? This Sweet and Tangy Baked Rhubarb Crumble comes together in simple steps, layering that luscious rhubarb filling with a crisp oat topping. In just eight straightforward stages, you’ll preheat, mix, assemble, and bake until you have golden brown crumble and bubbly filling. Follow along and you’ll have a stunning dessert that balances tart and sweet in every spoonful.
1. Preheat oven to 180°C (350°F) and grease a baking dish. In this step, make sure your oven reaches the right temperature before you start—and use a light coating of butter or nonstick spray so nothing sticks.
2. In a bowl combine chopped rhubarb, granulated sugar, lemon juice and cornstarch until rhubarb is evenly coated. Toss thoroughly so every piece is covered in that sweet-tart mixture and the cornstarch can begin thickening.
3. Spread the rhubarb mixture evenly in the prepared baking dish. Use a spatula to level the fruit into a uniform layer, ensuring even cooking and bubbling.
4. In another bowl mix flour, rolled oats, brown sugar, ground cinnamon and salt. Stir until well combined, breaking up any clumps in the dry mix.
5. Add cold cubed butter to the dry ingredients and rub with your fingertips until mixture forms coarse crumbs. Work quickly to keep the butter cold, creating that perfect, flaky texture.
6. Evenly sprinkle the crumble topping over the rhubarb layer. Make sure to cover the fruit completely but don’t press down—those air pockets help the topping crisp up beautifully.
7. Bake for 35 to 40 minutes until the topping is golden brown and the filling is bubbly. Keep an eye on the edges; you want a deep golden hue without burning.
8. Let the crumble rest for 10 minutes before serving. This short pause lets the filling thicken and the topping set so each scoop holds its shape.
This crumble is fantastic on its own, but a few finishing touches can elevate every bite. Here are some ideas to pamper your guests—or yourself!
Consistency is key when it comes to a crumble that’s both crunchy and tender. With these friendly pointers you’ll nail the texture every time:
Whether you’re meal-prepping or saving leftovers, proper storage keeps your crumble tasting its best. Follow these tips to lock in flavor and crunch.
Curious minds have asked—and here are the answers!
Using cold, unsalted butter ensures the fat stays in small, solid pieces as you rub it into the dry ingredients, creating a coarse, flaky texture that bakes into a light, crisp topping rather than melting too quickly and yielding a dense, greasy layer.
Be sure to evenly coat every piece of chopped rhubarb with granulated sugar, lemon juice, and cornstarch; the cornstarch absorbs excess moisture as the rhubarb softens and releases liquid during baking, and letting the baked crumble rest for about 10 minutes allows the filling to thicken properly before serving.
Yes, you can replace the rolled oats with certified gluten-free oats and swap the all-purpose flour for a 1:1 gluten-free baking blend; just ensure the blend contains xanthan gum or add a pinch yourself to help bind the crumble topping.
Store cooled leftovers in an airtight container in the refrigerator for up to three days; to reheat, warm individual portions in a 160°C (325°F) oven for about 10 minutes until heated through and the topping crisps up, or microwave briefly on medium power, then let rest a minute before eating.
Strawberries, raspberries, or chopped apples pair beautifully with rhubarb’s tartness—adjust the sugar by adding an extra 25–50 g if you include very tart berries or increase to 150 g total when using apples to maintain the desired sweetness.
Resting allows the filling juices to cool slightly and thicken, preventing them from running off when scooped, and gives the crumble topping a chance to set so you get distinct layers of tender fruit and crunchy crumbs rather than a soggy texture.
Serve the crumble warm with a scoop of vanilla ice cream, a dollop of freshly whipped cream, or a drizzle of crème fraîche; you can also sprinkle a few toasted almonds or a light dusting of cinnamon on top for extra crunch and aroma.
There’s something unabashedly joyful about the marriage of tart rhubarb and a buttery oat topping—it hits all the right notes between tangy, sweet, crunchy, and cozy. This recipe works because it’s straightforward enough for beginners yet yields bakery-worthy results. Go ahead and print this article to save it for your next dessert craving. If you give it a whirl, drop a comment or question below—I’d love to hear how your crumble turned out or help troubleshoot any sticky spots you encounter!
The tangy rhubarb filling bubbles through coarse oat crumbles, releasing warm, cinnamon-scented steam when you break the golden crust.

¡Hola, cocineros! I'm Alba Morales, and welcome to my kitchen where Spanish traditions meet California innovation, and every recipe is a love letter to the flavors that have shaped my culinary journey.