

Love the idea of tiny frozen bites of creamy Greek yogurt and peanut butter cloaked in glossy dark chocolate? Frozen Greek Yogurt Peanut Butter Bites combine creamy yogurt, nutty peanut butter, and sweet honey for a flavor-packed nibble that’s no-bake, easy to make, and perfect for snacking or dessert.
Key Ingredients
Gathering quality ingredients ensures every bite is rich, creamy, and satisfyingly chocolatey.
- 1 cup Greek yogurt: Creamy base that firms up nicely when frozen, providing a tangy counterpart to the peanut butter.
- 1/2 cup creamy peanut butter: Adds rich nuttiness and smooth texture, blending perfectly with the yogurt.
- 2 tablespoon honey: Natural sweetener that balances tanginess and ensures a soft, scoopable consistency.
- 1 teaspoon vanilla extract: Enhances flavor depth with warm, aromatic notes.
- 1/2 cup dark chocolate chips: Melts into a glossy shell, offering a satisfyingly crisp chocolate coating.
- 1 teaspoon coconut oil: Helps the chocolate maintain a smooth, pourable consistency for drizzling.
How To Make Frozen Greek Yogurt Peanut Butter Bites
Turning pantry staples into bite-sized frozen delights is easier than you think. In just a few steps, you'll have creamy centers and a crisp chocolate shell that’s sure to impress. Keep your tools and freezer ready, and let’s transform these simple ingredients into an irresistible treat.
1. In a medium bowl, whisk together Greek yogurt, peanut butter, honey, and vanilla extract until smooth and fully combined. Aim for a uniform, lump-free mixture that’s thick yet spoonable.
2. Spoon the mixture into a silicone mini muffin tray or ice cube mold, filling each cavity about three-quarters full. This makes perfectly bite-sized pieces.
3. Place the tray in the freezer and freeze for at least 1½ to 2 hours, or until the bites are completely solid. This step ensures they hold their shape when dipped.
4. While the bites are freezing, combine dark chocolate chips and coconut oil in a microwave-safe bowl. Heat in 20-second intervals, stirring between each, until the mixture is melted and glossy.
5. Remove the frozen yogurt bites from their molds and arrange them on a parchment-lined baking sheet to catch any drips.
6. Drizzle the melted chocolate over each bite using a spoon or fork, creating an even layer of chocolate shell. Return the tray to the freezer for another 15–20 minutes to let the chocolate set.
7. Once set, transfer the bites to an airtight container and store in the freezer until you’re ready to serve these delightful morsels.
Serving Suggestions
These Frozen Greek Yogurt Peanut Butter Bites shine on their own, but jazzing up the presentation adds extra flair. Whether you’re hosting a party, meal-prepping snacks, or creating a fun dessert platter, simple touches can elevate the experience and showcase these creamy, coated gems.
- Arrange on a dessert platter with fresh berries and mint leaves for a colorful, elegant display.
- Pack into individual cups or mini cones wrapped with a small paper liner for easy grab-and-go snacks at picnics.
- Sprinkle a pinch of sea salt over the chocolate before it sets to highlight the sweet-and-salty contrast.
- Drizzle extra peanut butter or caramel sauce in a zigzag pattern for an indulgent twist.
Tips For Perfect Frozen Greek Yogurt Peanut Butter Bites
Mastering these Frozen Greek Yogurt Peanut Butter Bites is all about balance and texture. Keep things smooth, work quickly with the chocolate, and don’t skip the freezing times. Here are a few friendly pointers to ensure each bite is creamy on the inside and crisp on the outside:
- For a sweeter version, swap honey for maple syrup or agave nectar to suit your taste.
- Use crunchy peanut butter instead of creamy for added texture, or opt for almond butter for a nut-free spin.
- Store in the freezer for up to 2 weeks; let each bite sit at room temperature for about 2 minutes before enjoying.
- Substitute dark chocolate with white or milk chocolate, and adjust the coconut oil if you need a thinner or thicker drizzle.
How To Store It
Proper storage keeps these little treats at peak flavor and texture. Because they’re frozen, it’s all about preventing freezer burn and making them easy to grab whenever a craving hits. With a few simple steps, you’ll have perfect bites ready for weeks.
- Airtight container: Place the set bites in a single layer or separated by parchment to avoid sticking. Seal tightly to prevent freezer odors.
- Freezer-safe bag: Use a resealable bag, squeeze out excess air, and seal. This saves space while still protecting the bites.
- Label and date: Mark the container or bag with the date so you know they’re best within 2 weeks.
- Quick thaw: When ready to eat, let the bites rest at room temperature for 2 minutes to soften the shell just right.
Frequently Asked Questions
Here are quick answers to your top queries about these Frozen Greek Yogurt Peanut Butter Bites:
- How long does it take to prepare these Frozen Greek Yogurt Peanut Butter Bites from start to finish?
Active prep time is about 10–15 minutes to whisk the yogurt mixture, spoon it into molds, and melt the chocolate. Then you’ll need 1½–2 hours of freeze time for the bites and an additional 15–20 minutes after drizzling the chocolate to set. Total time is roughly 2–2½ hours.
- What can I use if I don’t have a silicone mini muffin tray or ice cube mold?
You can line a small baking dish or loaf pan with parchment paper and spread the mixture evenly, then cut into squares once frozen. Alternatively, use a lined sheet pan and roll the mixture into bite-sized balls before freezing.
- How do I prevent the yogurt bites from sticking to the molds?
Lightly grease each cavity with nonstick spray or a thin brush of coconut oil before filling. You can also use silicone molds, which are naturally nonstick, and let the bites sit at room temperature for 1–2 minutes before popping them out to ease removal.
- Can I customize the sweetness or flavor of these bites?
Yes. Swap honey for equal parts maple syrup or agave nectar for a different sweetness profile. You can also stir in a pinch of cinnamon or a teaspoon of cocoa powder to the yogurt mixture for added flavor variety.
- What nut-free or alternative options work well in this recipe?
You can substitute creamy peanut butter with almond butter for a different nut flavor or sunflower seed butter to keep it nut-free. Crunchy peanut butter adds extra texture but be mindful of seed-butter consistency—thin seed butters may require a slightly longer freeze time to firm up.
- How should I store these bites and how long will they last?
Transfer the fully set bites to an airtight container and store them in the freezer for up to 2 weeks. For best texture, let them sit at room temperature for about 2 minutes before serving.
- What’s the best way to melt and drizzle the chocolate so it stays glossy and smooth?
Microwave the chocolate chips with coconut oil in 20-second increments, stirring thoroughly between each interval. This prevents burning and ensures a glossy finish. If the chocolate begins to thicken before you’re done, stir in an extra 1/4 teaspoon of coconut oil to restore fluidity.
What Makes This Special
These Frozen Greek Yogurt Peanut Butter Bites shine because they marry creamy, tangy yogurt with rich peanut butter and a satisfyingly crisp chocolate shell—all without turning on the oven. Their tiny size makes them snackable, fun to share, and ideal for meal prep or party platters. Feel free to print and save this article for later, and drop a comment if you try the recipe or need any help tweaking it.
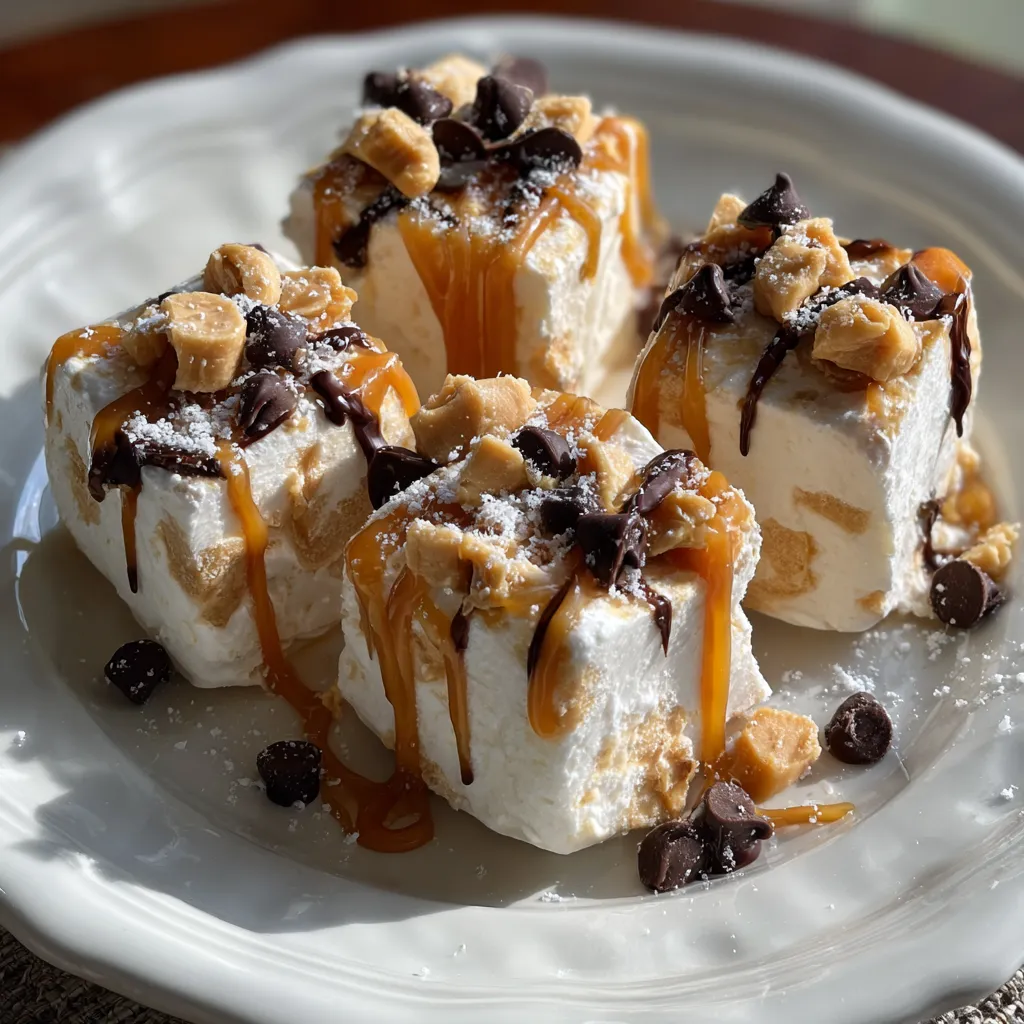

Frozen Greek Yogurt Peanut Butter Bites
Description
Creamy Greek yogurt blended with peanut butter and honey, frozen into tiny pops, then draped in glossy dark chocolate. Each bite offers a nutty, sweet contrast and a satisfyingly crisp chocolate shell.
Ingredients
Instructions
-
In a medium bowl, whisk together Greek yogurt, peanut butter, honey, and vanilla extract until smooth and fully combined.
-
Spoon the mixture into a silicone mini muffin tray or ice cube mold, filling each cavity about three-quarters full.
-
Place the tray in the freezer and freeze for at least 1½ to 2 hours, or until the bites are completely solid.
-
While the bites are freezing, combine dark chocolate chips and coconut oil in a microwave-safe bowl and heat in 20-second intervals, stirring between each, until melted and glossy.
-
Remove the frozen yogurt bites from their molds and arrange them on a parchment-lined baking sheet.
-
Drizzle the melted chocolate over each bite using a spoon or fork, then return the tray to the freezer for another 15–20 minutes to set the chocolate.
-
Once set, transfer the bites to an airtight container and store in the freezer until ready to serve.
Note
- For a sweeter version, swap honey for maple syrup or agave nectar.
- Use crunchy peanut butter for added texture or almond butter for a nut-free alternative.
- Store in the freezer for up to 2 weeks; allow bites to sit at room temperature for 2 minutes before eating.
- You can substitute dark chocolate with white or milk chocolate, adjusting coconut oil for desired consistency.

