

Tangy Crunchy Dill Pickles bring that classic zip to your meals with crisp cucumbers bathed in a bright vinegar brine, garlic, and fresh dill. Whether you’re topping a sandwich or snacking straight from the jar, these refrigerator pickles pack a satisfying crunch and lively flavor that brighten up any bite.
Key Ingredients
Let’s gather everything you need for these zesty Tangy Crunchy Dill Pickles—simple pantry staples that transform cucumbers into crunchy delights.
- 1 kg pickling cucumbers: Firm cucumbers that stay crisp throughout the pickling process.
- 500 ml water: Dilutes the vinegar to create a balanced brine.
- 250 ml white vinegar: Provides the signature tangy bite and helps preserve the pickles.
- 3 tbsp kosher salt: Essential for seasoning and drawing out moisture to keep cucumbers crunchy.
- 2 tbsp sugar: Balances the acidity for a well-rounded flavor.
- 4 cloves garlic: Infuses a pungent, aromatic depth into each jar.
- 2 tbsp fresh dill: Delivers the classic dill flavor that defines these pickles.
- 1 tsp black peppercorns: Adds subtle heat and complexity to the brine.
How To Make Tangy Crunchy Dill Pickles
Pickling is easier than you think! In just a few simple steps—prepping crisp cucumbers, sterilizing jars, layering spices, and pouring a hot brine—you’ll create tangy, crunchy pickles ready to chill in your fridge. Follow the detailed instructions below for perfect results every time.
1. Trim the ends of the cucumbers and wash them thoroughly: Remove about 1/8" from each end to prevent soft pickles, then rinse under cool running water, scrubbing gently to eliminate any dirt.
2. Sterilize the jars and lids by boiling them in water for 10 minutes: Place jars and lids fully submerged in a large pot of boiling water for 10 minutes, then transfer to a clean towel to air-dry.
3. Place garlic, fresh dill, and black peppercorns into each jar: Divide the cloves, dill sprigs, and peppercorns evenly among the sterile jars, arranging them at the bottom for maximum flavor infusion.
4. Pack cucumbers tightly into the jars on top of the spices: Stand the cucumbers upright or cut into spears if they’re too tall, ensuring minimal air gaps for an even brine distribution.
5. Combine water, white vinegar, kosher salt, and sugar in a saucepan and bring to a boil, stirring until the salt and sugar dissolve: Heat the mixture over medium-high heat, stirring constantly until everything is fully dissolved and the brine is clear.
6. Carefully pour the hot brine over the cucumbers, leaving about 1 cm of headspace: Slowly ladle the boiling liquid into each jar until it covers the cucumbers but leaves room at the top for expansion.
7. Wipe jar rims clean, seal tightly with lids, and let cool to room temperature: Use a damp cloth to clean any spills, screw on lids firmly, then set jars aside until they reach room temperature.
8. Refrigerate for at least 48 hours before serving for optimal tangy flavor: Place the sealed jars in the refrigerator and wait a minimum of two days—longer if you prefer a sharper taste.
Serving Suggestions
From casual lunches to party spreads, Tangy Crunchy Dill Pickles add a burst of flavor and crunch that livens up every bite. Their lively vinegar tang and garlicky aroma complement creamy textures and rich proteins alike, making them a versatile sidekick. Whether you’re building a gourmet sandwich, crafting a charcuterie board, or elevating a simple salad, these pickles will bring joy to your table with their iconic snap and zing. Serve them chilled straight from the fridge for a refreshing crunch, or let them sit at room temperature for a more mellow, savory bite.
- Sandwich topper: Layer slices of pickles on your favorite sandwich or burger for an extra crunch and zesty kick.
- Charcuterie board: Arrange whole or halved pickles alongside cheeses, cured meats, and olives to add brightness and balance.
- Dill pickle relish: Chop the pickles finely, mix with a little pickle brine and chopped onions for a tangy relish perfect on hot dogs.
- Salad enhancer: Toss chopped pickles into potato salad or coleslaw for an unexpected burst of flavor and crunch.
Tips For Perfect Tangy Crunchy Dill Pickles
Want your refrigerator pickles to really shine? A few simple tricks can take these Tangy Crunchy Dill Pickles from great to unforgettable. Whether you’re aiming for the ultimate snap or customizing the flavor balance, these tips will help you pickle like a pro and enjoy crunchy, perfectly tangy results every time.
- For extra crispness soak cucumbers in ice water for 2 hours before pickling: This pre-chill step firms up the cucumbers, ensuring maximum snap.
- Pickles will keep in the refrigerator for up to 2 months: Store sealed jars on a shelf in the back of the fridge to maintain consistent cold temperature.
- Feel free to adjust sugar or vinegar levels to suit your taste: If you prefer sweeter or sharper pickles, tweak the brine ratio, but keep at least a 1:1 water-to-vinegar ratio for safety.
- Ensure dill is fresh for the best aromatic flavor: Use vibrant green sprigs with no yellowing to infuse the most fragrant dill essence.
How To Store It
Proper storage is key to keeping your Tangy Crunchy Dill Pickles fresh and flavorful throughout their shelf life. Follow these simple methods to maintain crispness and zesty flavor every time you reach for a jar.
- Refrigerate in airtight jars: Seal the cooled jars tightly and place them on a consistent cold fridge shelf to maintain freshness.
- Use clean utensils: Always remove pickles with a fork or tongs to prevent cross-contamination and extend shelf life.
- Label with date: Write the pickling date on each jar to track freshness and enjoy them within two months.
- Keep jars upright: Store jars standing upright to ensure the brine fully covers the cucumbers and preserves their crisp texture.
Frequently Asked Questions
Got questions? Let’s tackle the most common ones about making and storing these zesty pickles.
- Q: How long does it take to prepare this recipe and when will the pickles be ready to eat?
Active preparation takes about 20 minutes for trimming cucumbers, packing jars, and boiling the brine, plus 10 minutes to sterilize jars. After sealing and cooling to room temperature, you must refrigerate the pickles for at least 48 hours before serving. The tangy flavor intensifies over three to five days.
- Q: What’s the best way to keep my pickles extra crunchy?
To maximize crunch, choose firm pickling cucumbers and soak them in ice water for two hours before slicing. Use kosher salt rather than table salt, pack cucumbers tightly to minimize air pockets, and pour fully hot brine over them. Keeping jars cold until filling and refrigerating promptly also helps maintain crispness.
- Q: Can I adjust the vinegar or sugar levels in the brine?
Yes, you can tailor sweetness and tang. The recipe uses a two-to-one water-to-vinegar ratio. If you reduce vinegar, ensure you maintain at least a one-to-one ratio for safety. You can also cut the sugar by up to half if you prefer a less sweet pickle, but do not omit salt as it’s essential for flavor and preservation.
- Q: How long will these pickles stay good in the refrigerator?
Properly sealed and refrigerated pickles will keep their best quality for up to two months. Always use clean utensils to remove pickles from the jar and check periodically for any off smells or mold before consuming.
- Q: Can I use regular cucumbers instead of pickling cucumbers?
Pickling cucumbers are recommended because they have thinner skins and fewer seeds, which helps them stay firm. If you use slicing cucumbers, remove excess seeds and consider reducing the pickling time slightly to prevent them from becoming overly soft.
- Q: Why do I need to sterilize jars and how do I do it properly?
Sterilizing jars and lids prevents unwanted bacteria and mold, ensuring safe fermentation. Boil jars and lids fully submerged in water for 10 minutes, then let them air-dry on a clean towel. Fill them while still warm to avoid cracks and maintain jar sterility.
- Q: Can I process these pickles for shelf-stable storage at room temperature?
This recipe is designed for refrigerator pickles, so it does not include a water-bath canning step. If you want shelf-stable pickles, you must follow USDA guidelines for water-bath canning, adjust headspace if necessary, and process jars in boiling water for the recommended time based on your altitude.
What Makes This Special
Crunchy cucumbers, zingy brine, and just the right blend of garlic and dill—what’s not to love? These Tangy Crunchy Dill Pickles hit that sweet spot between tanginess and crisp snap, making them your new kitchen sidekick for everything from burgers to cheese boards. The DIY approach means you control the flavor, and you can laugh as your friends marvel at your pickling prowess. Go ahead, print this recipe, stash it in your favorite cookbook page, and let me know how yours turn out in the comments below if you have any questions or pickle tales to share!
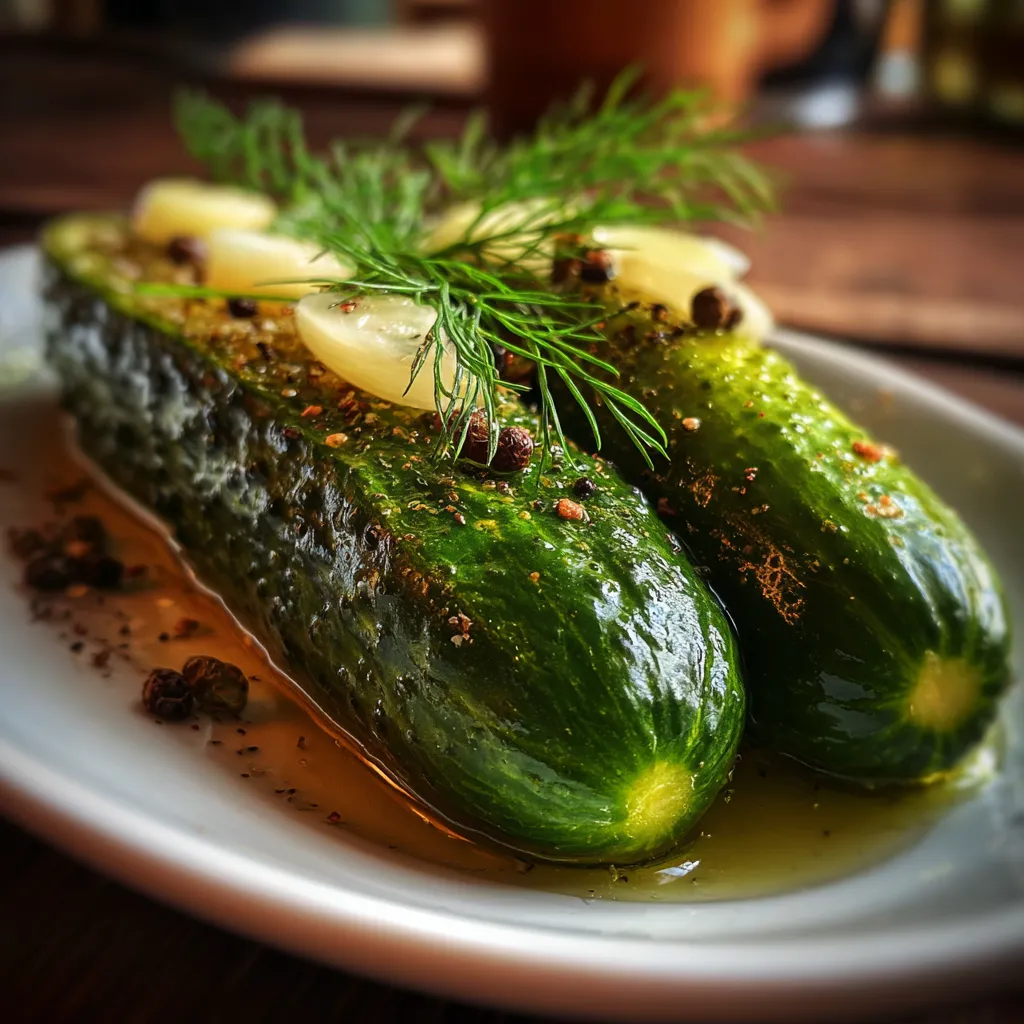

Tangy Crunchy Dill Pickles
Description
These pickles crackle with a refreshing snap as bright vinegar, aromatic garlic and fresh dill infuse each bite with zesty flavor and satisfyingly crisp texture.
Ingredients
Instructions
-
Trim the ends of the cucumbers and wash them thoroughly.
-
Sterilize the jars and lids by boiling them in water for 10 minutes.
-
Place garlic, fresh dill, and black peppercorns into each jar.
-
Pack cucumbers tightly into the jars on top of the spices.
-
Combine water, white vinegar, kosher salt, and sugar in a saucepan and bring to a boil, stirring until the salt and sugar dissolve.
-
Carefully pour the hot brine over the cucumbers, leaving about 1 cm of headspace.
-
Wipe jar rims clean, seal tightly with lids, and let cool to room temperature.
-
Refrigerate for at least 48 hours before serving for optimal tangy flavor.
Note
- For extra crispness soak cucumbers in ice water for 2 hours before pickling.
- Pickles will keep in the refrigerator for up to 2 months.
- Feel free to adjust sugar or vinegar levels to suit your taste.
- Ensure dill is fresh for the best aromatic flavor.

